
FDM production
Discuss covers, guides and depot tools in engineering or specialist FDM polymers. We plan the build around mounting access, important dimensions and the material evidence your project needs.
Explore FDM production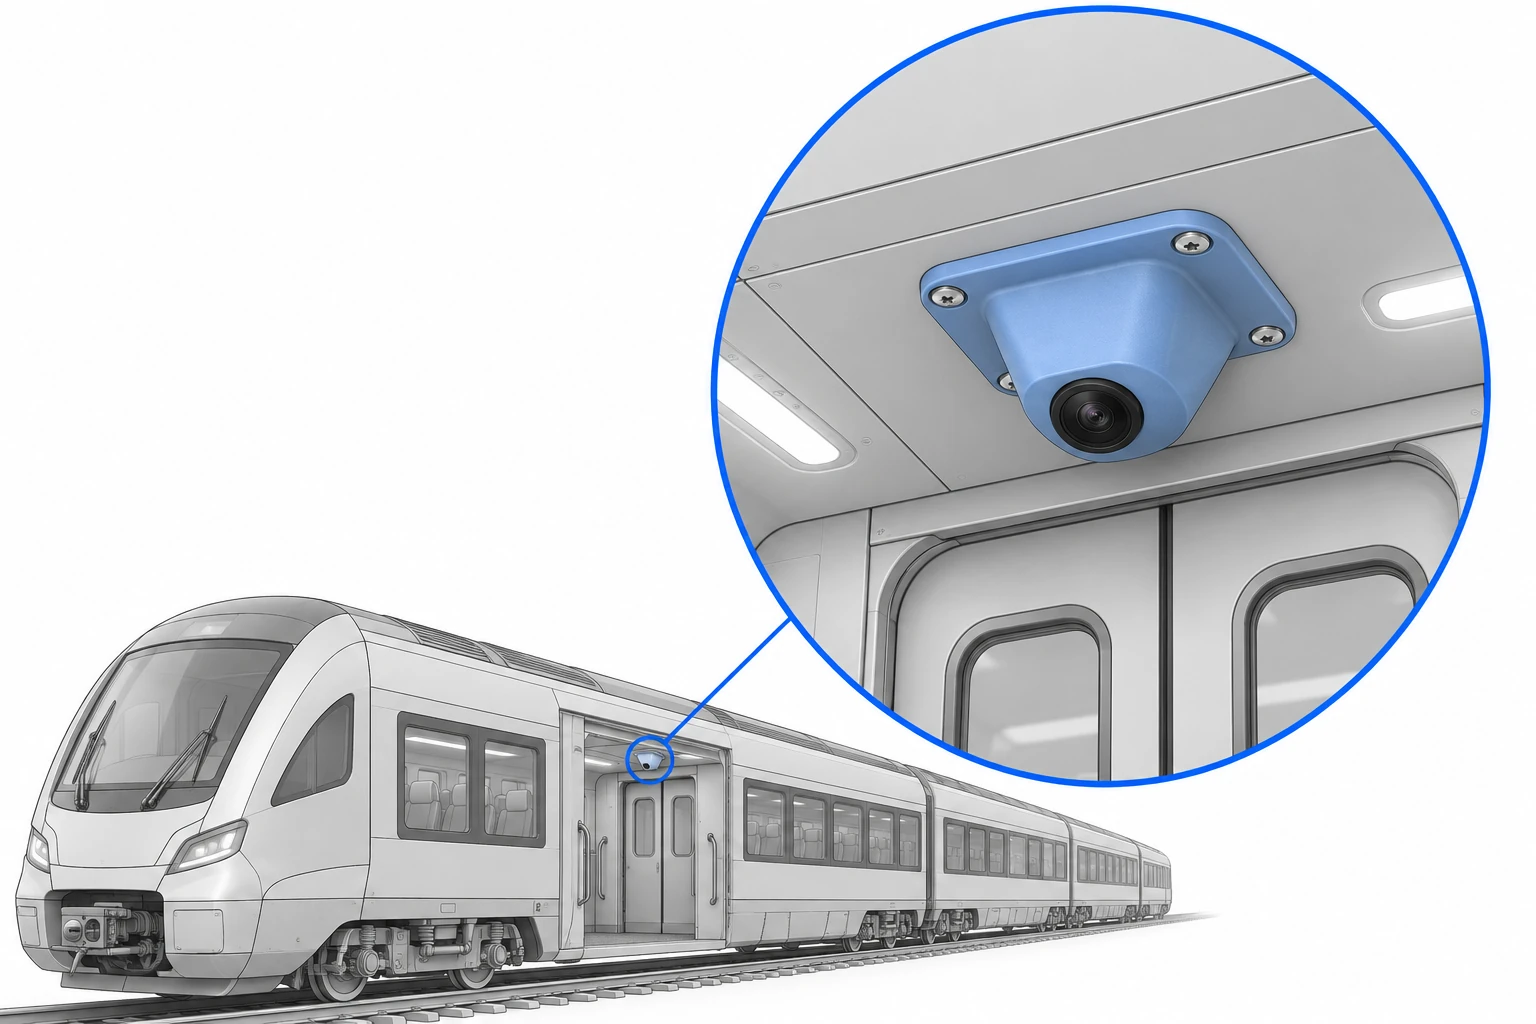
Keep maintenance and retrofit work moving with custom covers, cable guides, installation aids and replacement components. GAGAT AM makes your parts in-house with FDM and SLS printing, helps you choose the material and supports the first fit check through to repeat orders.
Illustrative application concept. The highlighted part shows where custom printing can help.
Railway maintenance often comes down to a small component with a specific job: a cover that must clear existing connectors, a bracket that fits an older installation or a guide that routes cables through limited space. Standard catalogue parts may not fit, while dedicated tooling can be difficult to justify for modest quantities.
Bring us the design, the installation context and the quantity you need. We help choose a polymer and a manufacturing route, then make first parts for checking fit, access and finish. If a connector moves or a mounting hole needs changing, revise the design before ordering the batch. Keep the accepted version as the reference for the next repair.
Discuss covers, guides and depot tools in engineering or specialist FDM polymers. We plan the build around mounting access, important dimensions and the material evidence your project needs.
Explore FDM productionUse SLS PA12 for intricate nylon brackets or housings with integrated features. Include access for powder removal and the fits the maintenance team will check.
Explore SLS productionMake a cover, control bezel or adapter around an existing mounting pattern. Build cable openings, locating edges and screw access into the printed shape, so the installer can work with the equipment already in place. Tell us where the component will be installed and which project requirements it must meet before choosing the material.
Possible grade: PC/ABS FR. Consider for covers when the specified fire-test scope matches.
Custom guides and mounting brackets can help integrate replacement electronics into older equipment. Start with the connector envelope, bend space and access needed by the installer. We can help review how the printed shape will be produced and assembled, so a useful feature in CAD does not become an inaccessible fastener or a difficult support-removal task.
Possible grade: PC-FR V0. Consider for rigid cable guides with the relevant fire-performance requirement.
Locating nests, assembly aids and protective handling fixtures can be shaped around the component being serviced. Identify the contact surfaces, loads and repeat-use conditions before choosing a material. A depot tool and a permanently installed vehicle part have different acceptance needs; defining the intended use helps keep the development effort proportionate to the job.
Possible grade: PET-CF17. Consider for stiff locating nests used in the depot.
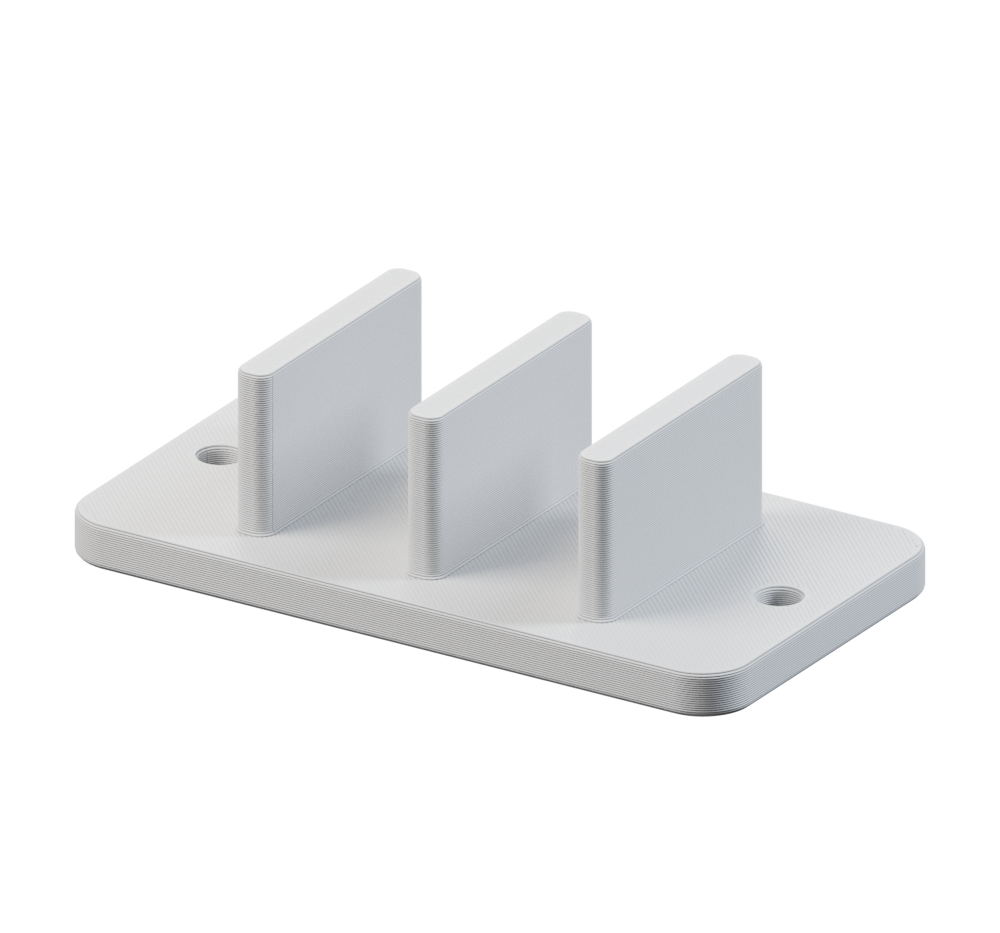
A fitted cable divider helps organize harness routes around the space already available in a vehicle. Rounded ribs separate the routes, while accessible fixing points let the maintenance team install or replace the component without dismantling surrounding equipment. Plan cable retention separately so the divider is not asked to do the job of a clamp.
Send a drawing or photographs of the installation, together with cable sizes, clearances and the applicable project requirements. We help refine the geometry, prepare first parts and check the fit with your team before retaining the accepted design for repeat orders.
For the illustrated divider, PC-FR V0 is a candidate to review against the specified fire requirements and test conditions.
Show us mating surfaces, fastener positions, connector access and any restricted installation space. Mark the dimensions that control fit on a drawing, including the space needed to insert and turn a tool. For a cable guide, include the connector envelope and the cable manufacturer's bend-radius requirement, not just the cable diameter.
We plan build direction, supports and finishing around those interfaces. The transition duct illustrates the same principle: a bolted flange provides one connection and an open round outlet provides the other. The matching hardware, hose retention and installation clearance belong in the assembly brief. Internal passages need accessible cleaning routes; larger geometries may benefit from an agreed split and joining method.
Explore the printing guide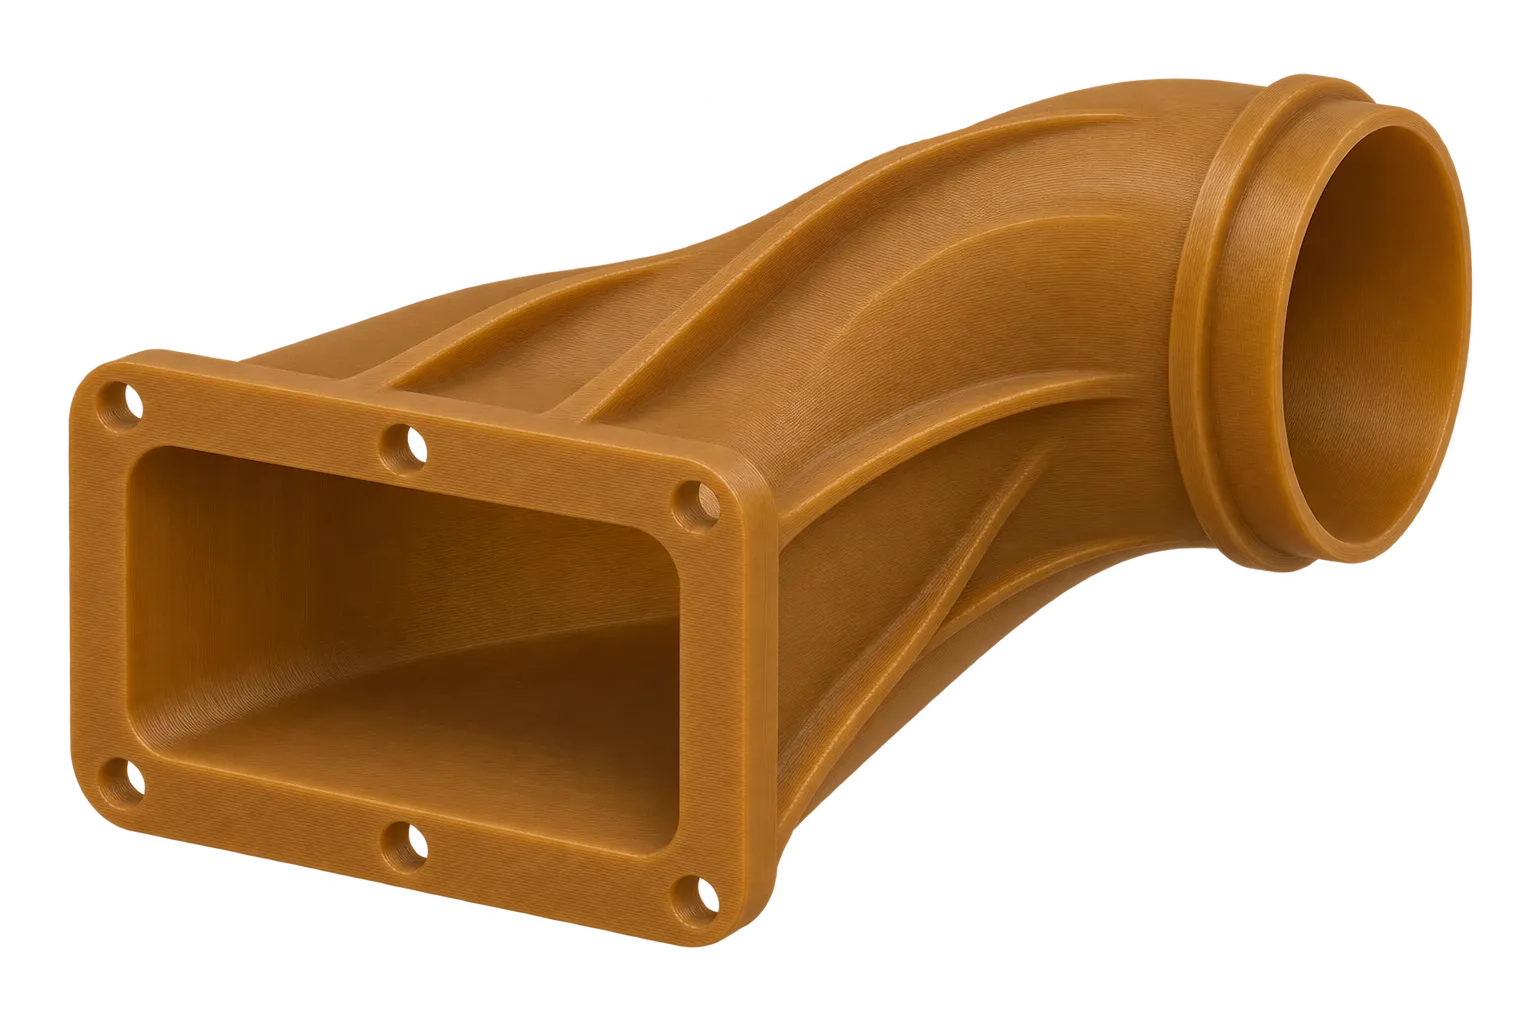
Send the model, revision, quantity and installation context. Include the relevant specification and explain whether the part is a fit-check prototype, maintenance tool or intended installed component.
Agree the material and preparation, then check representative parts in the actual assembly. Record adjustments to fit, access and handling before accepting the design for repeat supply.
Keep the accepted revision and manufacturing setup together. Agree the quantity, finishing and any inspection or documentation needs for each order, with changes reviewed before production.
A saved part is easier to reorder when its identity is clear. Use a reference linked to the equipment or assembly, rather than an ambiguous filename. Through Digital Inventory, approved parts can retain the selected material, applicable print settings, finishing choices and agreed pricing during their approval period.
Your team can then find an available approved item in the customer portal and request the next quantity. Digital inventory is not physical stock, and production and delivery time still apply. Discuss expected demand and replenishment needs with us so the ordering arrangement reflects how the fleet or maintenance operation actually uses the component.
Explore Digital InventoryName the vehicle or equipment variant and the location served by the part. Keep the mounting drawing with the accepted revision.
Record cable clearance, tool access and which fittings must be removed to reach the component.
Order the correct variant for the next maintenance task. Review the saved item if the installation or requirement changes.
We can assess a suitable replacement project. A usable CAD model, drawing or clearly defined design brief is the starting point. The original part's function, material requirements and installation approval still need to be established; a matching outer shape alone is not enough to approve a substitute.
No. The applicable requirement, grade, test scope and component design all matter. Send your project specification so we can review the available material evidence and identify the acceptance work required for that particular application.
Yes. Start with the quantity needed to evaluate fit and function, then discuss a repeat batch after acceptance. The quotation reflects the design, selected material, finishing and quantity rather than assuming that one production approach suits every component.
Include CAD, the part reference and revision, quantity, important dimensions, operating conditions and any required documentation. Photos of the installation can clarify the surrounding space. Tell us when the part is needed so we can discuss a realistic production route.
Tell us what the part needs to do, how many you need and which requirements matter. We will help assess the manufacturing route and prepare a quotation for the agreed scope.