
FDM production
Choose from engineering, specialist and flexible polymers. We plan the build direction, supports and finish around the important interfaces of your component.
Explore FDM production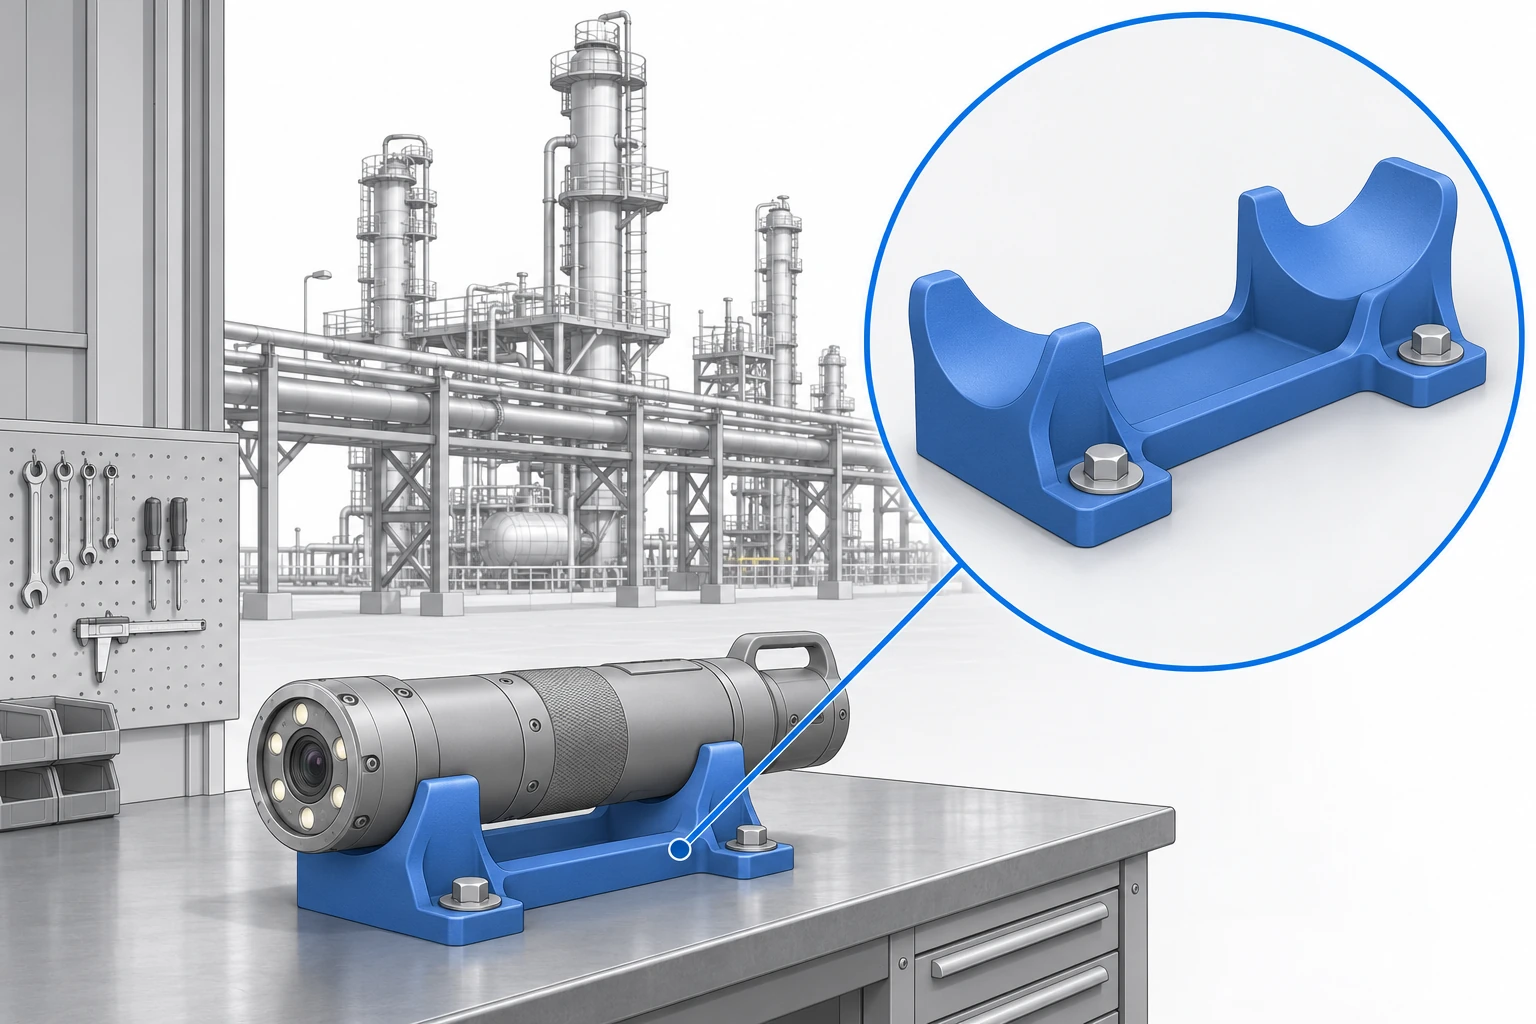
Get custom workshop fixtures, inspection-tool supports, equipment covers and fit-check prototypes made around the equipment you maintain. GAGAT AM combines in-house FDM and SLS production with practical material guidance, first-part trials and an agreed reference for repeat orders.
Illustrative application concept. The highlighted part shows where custom printing can help.
A maintenance task can depend on a modest component: a cradle that keeps an inspection instrument steady, a cover shaped around existing connectors or an assembly guide that frees a technician’s hands. When the equipment is older or the required quantity is small, a catalogue part may not provide the right fit. Printing lets you develop that specific geometry without committing to dedicated mould tooling.
Start with the task and the component it needs to support. Send a model or drawing, photographs of the installation and the expected quantity. Tell us which faces matter, what the part touches and how it will be handled. We help select a manufacturing route and make representative parts for your team to assess before you settle on the repeat design.
Choose from engineering, specialist and flexible polymers. We plan the build direction, supports and finish around the important interfaces of your component.
Explore FDM productionMake intricate PA12 nylon components without attached support structures. We review enclosed areas for powder removal and plan the fit with surrounding parts.
Explore SLS productionSupport a housing or instrument during inspection, assembly or routine servicing. Shaped contact areas can locate the item while leaving connectors and fasteners accessible. The illustrated bench cradle shows this approach: two supports follow the instrument body and bolt to a flat work surface. Define how the instrument will be retained and released; the fixture should help the task without obstructing it.
Possible grade: PET-CF17. Consider for rigid workshop supports and locating nests.
Organize probes, adapters and hand instruments with fitted trays, protective covers and cable-management details. A recognizable place for each item can make a service kit easier to use and check. Share the equipment envelope, connector access and cleaning routine. Flexible contact elements may be useful where the item needs a softer interface, while rigid frames can establish its position.
Possible grade: TPU 95A. Consider for flexible contact pads and fitted handling interfaces.
Adapt non-pressure equipment interfaces around changed electronics, mounting patterns or available space. A printed trial can reveal an inaccessible screw or a connector clash before an installation visit. Separate a shape-check prototype from a component intended for service: the final material, wall structure and acceptance requirements need to reflect where and how the part will actually work.
Possible grade: PPS-CF10. Consider for non-pressure parts when heat or chemical exposure warrants review.
Workshop, equipment bay or specified installation area.
Heat, loads, fluids, cleaning and expected service life.
Fit, function and any project-specific testing or documentation.
A useful maintenance tool starts with the job it supports: where the instrument rests, how the technician reaches it and what keeps it stable during the operation. Share the mating geometry and identify surfaces that must remain clear or protected.
Describe heat, sustained loads, cleaning agents and any fluid contact, including temperature and exposure duration. We help connect those conditions to a suitable print and a practical first-part check. Workshop tooling, pressure components and equipment for hazardous areas have different requirements; agree the intended use before choosing the production route.
Possible grades include PET-CF17 for rigid workshop supports and PPS-CF10 where heat or chemical exposure warrants review.
For a workshop fixture, show the part in its working position and identify the surfaces that locate it. Leave room for a hand, glove or tool where it will be used. Position mounting holes where the fastener can be inserted and tightened. If the component is heavy, identify how it is supported during loading and removal instead of relying on an attractive but impractical cradle shape.
For equipment used in or near hazardous areas, include the area classification and the applicable equipment requirements with the enquiry. Our standard printing service does not establish ATEX or IECEx approval. Pressure-retaining parts, explosion-protection features and other safety-critical functions need a separately defined qualification route. We can first help identify suitable workshop tools, prototypes and support components with a clear, proportionate acceptance plan.
Define the contact faces and dimensions that position the part.
Allow access to install and tighten the chosen hardware.
Leave space to reach connectors, remove the part and inspect the assembly.
Send the CAD revision, quantity and photographs or drawings of the equipment. Describe contact surfaces, working conditions and any site requirements. Mark the dimensions that determine fit and the date you need the parts.
Agree the material and production approach, then try the first parts in the actual task. Check access, stability, handling and any important dimensions. Record changes before accepting the design for a larger order.
Keep the approved model, material, applicable build settings and finishing together. Confirm the checks and documentation for subsequent batches, and review changes to the equipment or operating conditions before reordering.
A useful fixture should not become an anonymous file after the first service visit. Give it a clear part reference linked to the equipment or workshop operation. Through our Digital Inventory service, an approved item can retain its manufacturing configuration and agreed pricing during the approval period, ready for repeat ordering through the customer portal.
This helps engineering, maintenance and purchasing refer to the same part when another set is needed. Digital inventory is the saved definition, not a promise that physical stock is already available. Discuss expected demand, required quantities and replenishment time with us. Where a planned batch or stock arrangement would be more useful, we can agree it around the component and your maintenance schedule.
Explore Digital InventoryKeep the equipment reference, locating surfaces and accepted fixture revision together, including the agreed material and finish.
Check that the workpiece, loading method and exposure conditions still match. Order the approved fixture quantity against its current price and validity.
We can review custom polymer covers, interfaces, tools and other suitable components from your design. Tell us the function and requirements before ordering. A replacement’s appearance alone does not establish suitability, especially when the original part has a pressure, safety or explosion-protection role.
That depends on the installation and the required assessment. Send the area classification and specification for review. Do not treat a printed material choice or this service page as ATEX, IECEx or other equipment approval. The hero image shows a workshop inspection cradle.
Identify the substance, concentration, temperature, duration and whether the exposure is occasional or continuous. We can review grade-specific material information and discuss sample testing. Printed geometry, stresses and the required service life also influence suitability.
Yes. Share the quantity and the checks you want to make. Representative first parts can help resolve the fit and working method before repeat production. We agree the manufacturing approach, price and delivery details for your order.
Send your design, equipment context and expected quantities. We will help you choose a practical material and production approach, then work with you from the first trial to repeat supply.